With a detailed guide at your side, you’ll be able to set up a VPS without any trouble whatsoever. By the end of this read, your VPS configuration will be complete, and your website ready to use.
We’ll make each step as clear as possible. Setting up a VPS requires that you take your time and don’t rush anything. Still, if you get stuck, feel free to reach out to Vicetemple for help.
Connect With the Vicetemple Server
The first thing you should do is check your email for login information. Look for a link to the Vicetemple login page and input your email address and the password you’ve received. That will take you to your personal Vicetemple homepage.
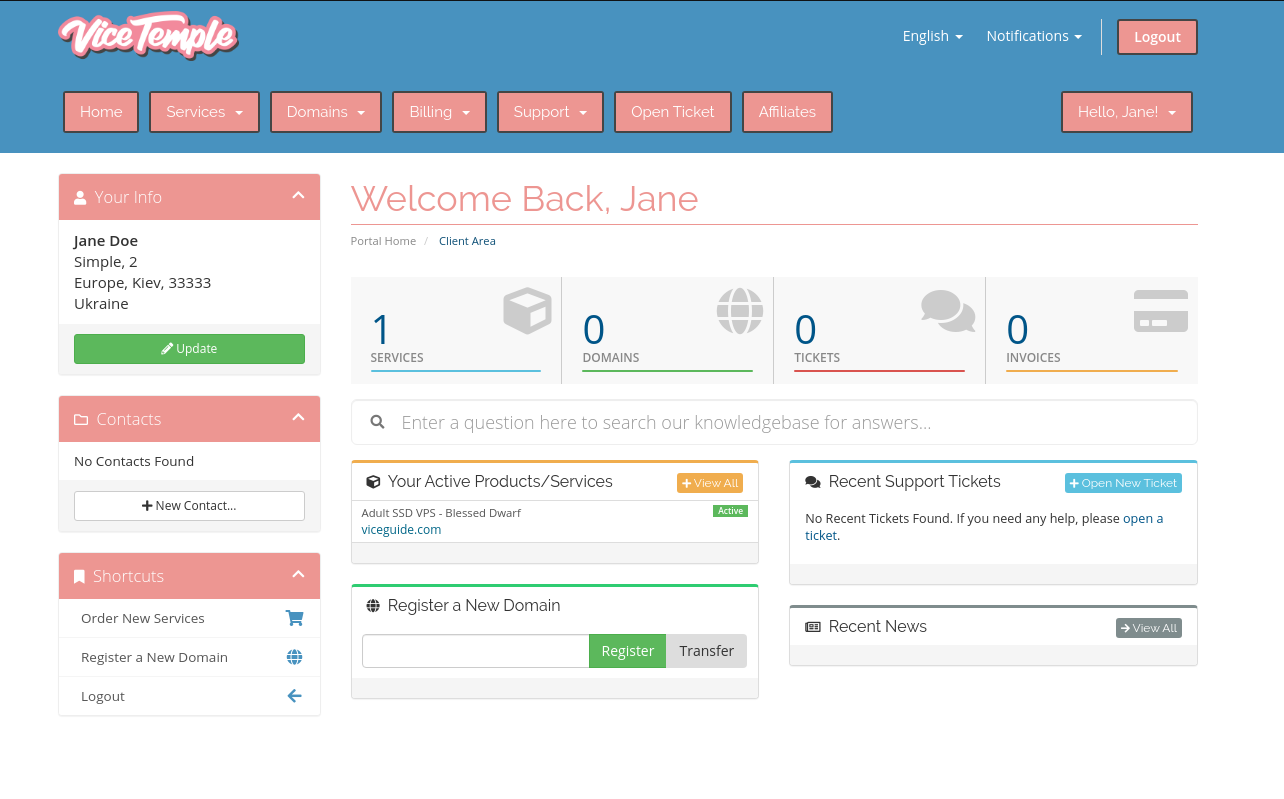
In the upper part of the page, you’ll see the “Services” tab. Click on it, and it will take you to the products and services page.
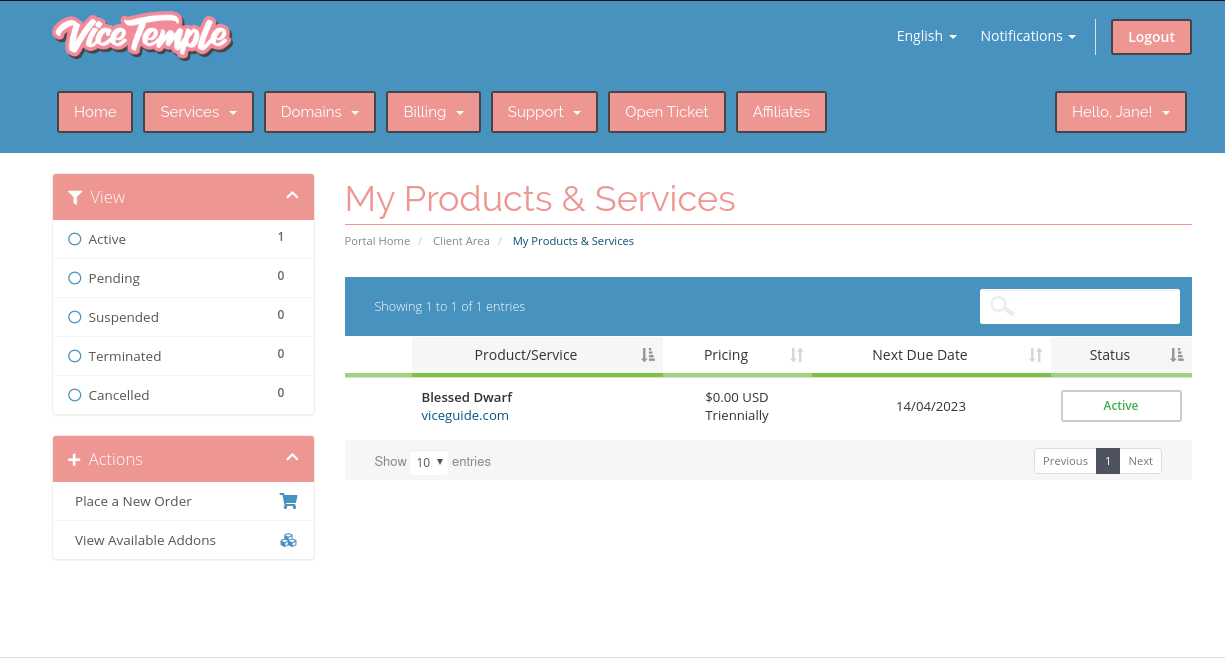
Clicking on an active service will allow you to manage it.
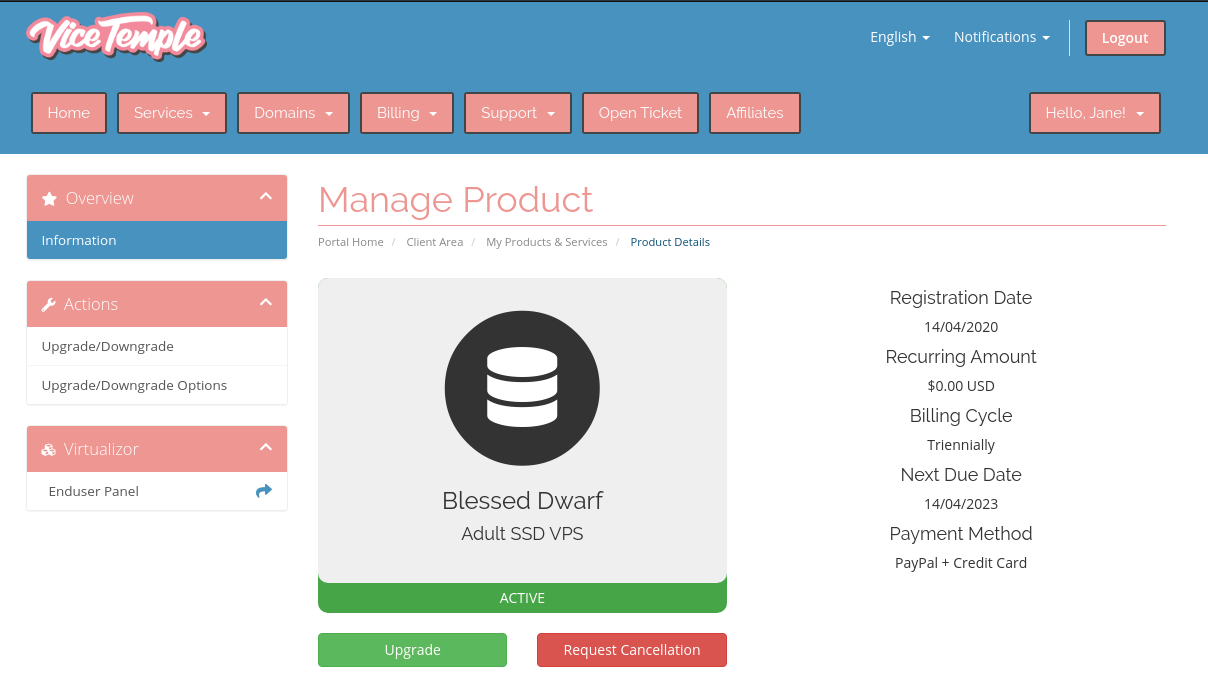
As you can see, you can access all the important information about your VPS right there. From that page, you can upgrade the service, request cancellation, and check when the next payment is due.
To the left, under the “Virtualizor” category, you can see the “Enduser Panel.” Click on it, and it will take you to the Virtual Servers page.
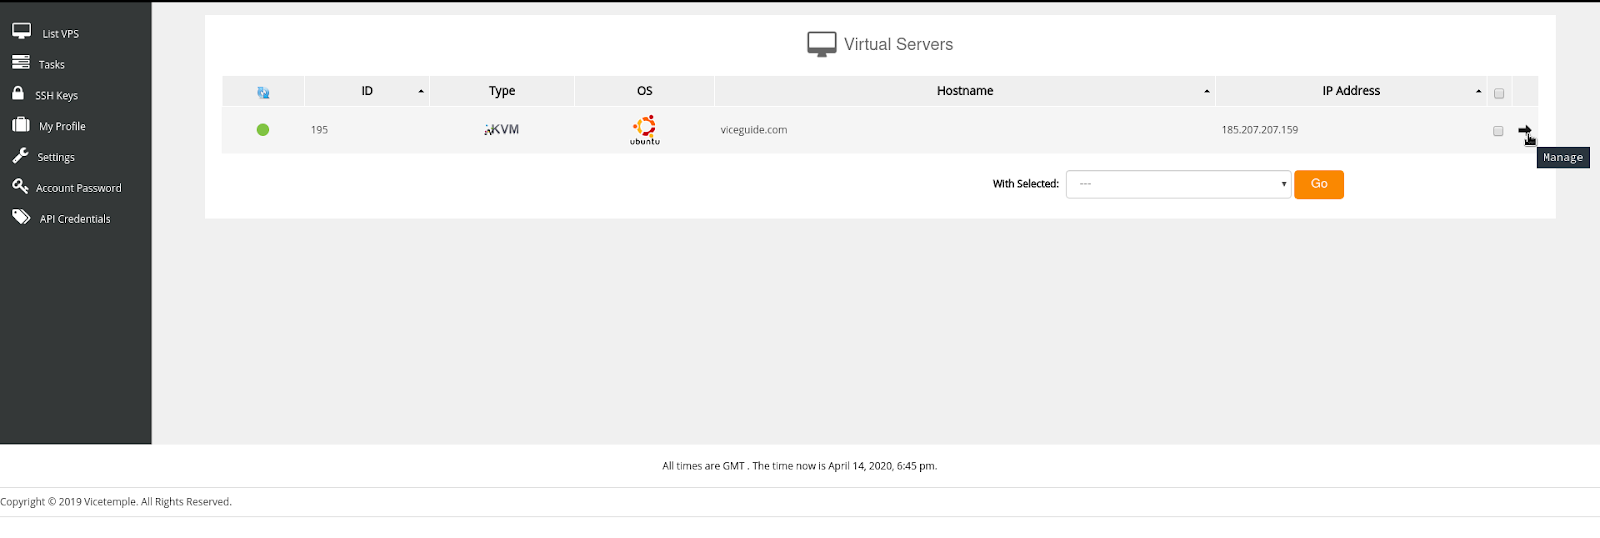
Go ahead and click on the black arrow to the far right of your virtual server. You are now looking at the main VPS control panel.
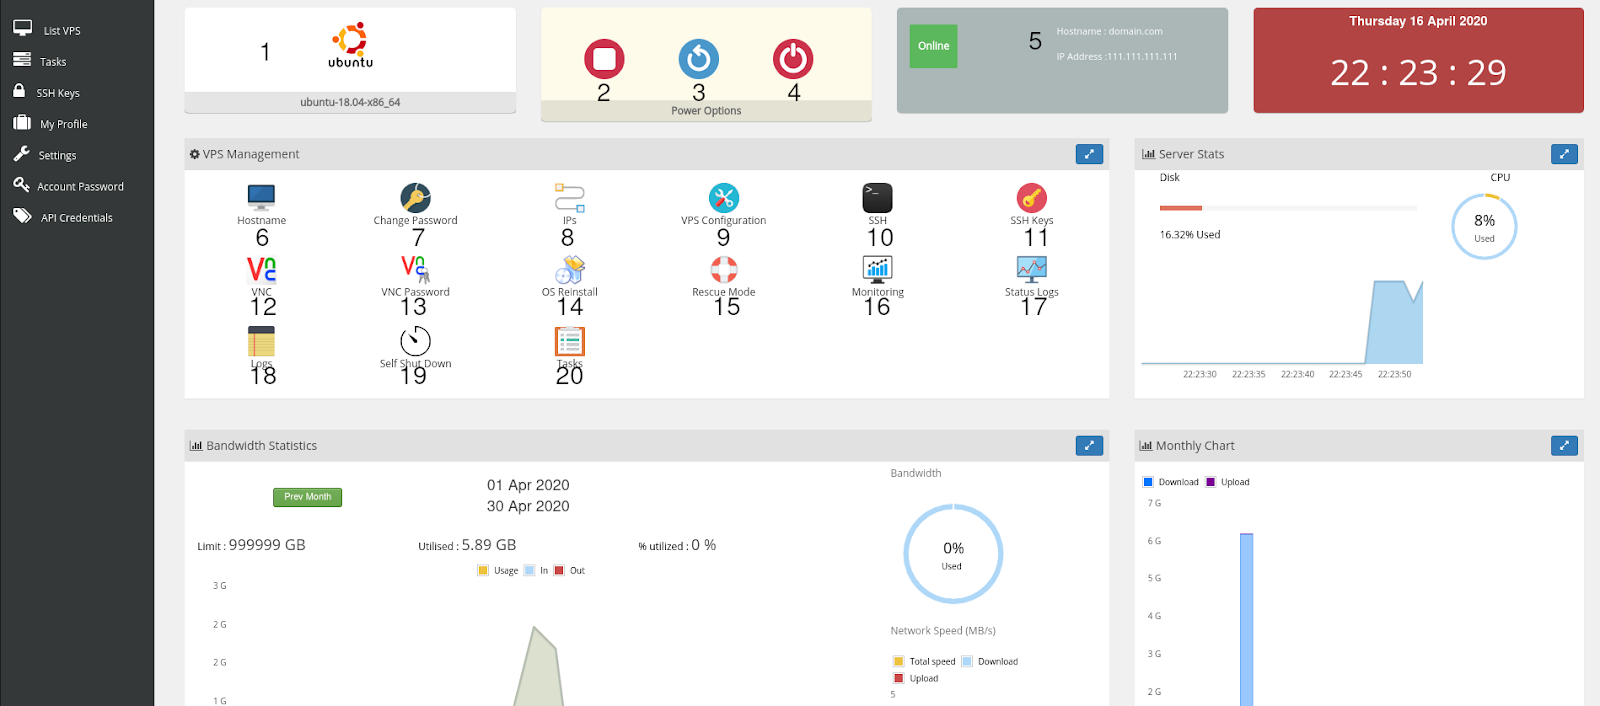
The layout of this window might seem a bit complicated, but don’t worry! We’ve numbered the controls, as you can see in the picture. Here’s an index of all the controls:
- See installed OS
- Stop/Start VPS
- Reboot OS (if the system is not responding)
- Shutdown VPS
- See OS status, domain, and IP address
- Change hostname
- Change the root password
- Select primary IP
- Configure Misc settings
- Connect via SSH (Java required)
- Manage SSH keys (not the root password)
- Connect via VNC
- Change the VNC password
- Reinstall OS
- Switch to rescue mode
- Monitor resources
- See status logs
- See VPS logs
- Use self shut down
- Manage tasks
What you need to do first is reinstall the operating system. Choose the OS you’d like to install, but make sure it’s compatible with your control panel.
When you select an OS, you will need to enter a root password. Make it complex enough so that you don't get hacked. Save this password, as you will need it to log in to the server in the future.
After you’re done setting up the OS, it’s time to connect to the server. You can either connect via SSH or VNC.
If you want to connect via SSH, you need to open the terminal and enter the following:
ssh root@server_ip
You should see a message like this one:
******************************************************************************************************
The authenticity of host '111.111.111.111' can't be established.
ECDSA key fingerprint is SHA256:K3UTQrLYxfkhO9xxxxxxxxzVuhnCJ4aP399mTDjF6Io.
Are you sure you want to continue connecting (yes/no/[fingerprint])?
******************************************************************************************************
Type in “yes,” paste your Vicetemple password, and hit Enter. That’s it — you’re now connected to the server!
The other (and default) connection option is VNC. If you prefer this kind of connection, open the control panel, click “VNC,” and choose the “HTML5 VNC Client SSL” option.
Alternatively, you can connect via PuTTY. In that case, you need to download, install, and open the client. Once that’s done, click “Session” in the left panel and enter your server IP address or domain name in the “Host Name” field. Then, just confirm the connection and enter the password — you’re now connected via PuTTY.
Before you install VestaCP, you must update the system. Use the following commands:
For CentOS:yum install -y epel-release
yum update -y
yum install -y wget
For Debian/Ubuntu:apt update -y
apt upgrade -y
Configure Cloudflare DNS Services
By connecting with the Vicetemple server, you’ve finished a crucial step in the VPS setup. Now it’s time to configure Cloudflare services.
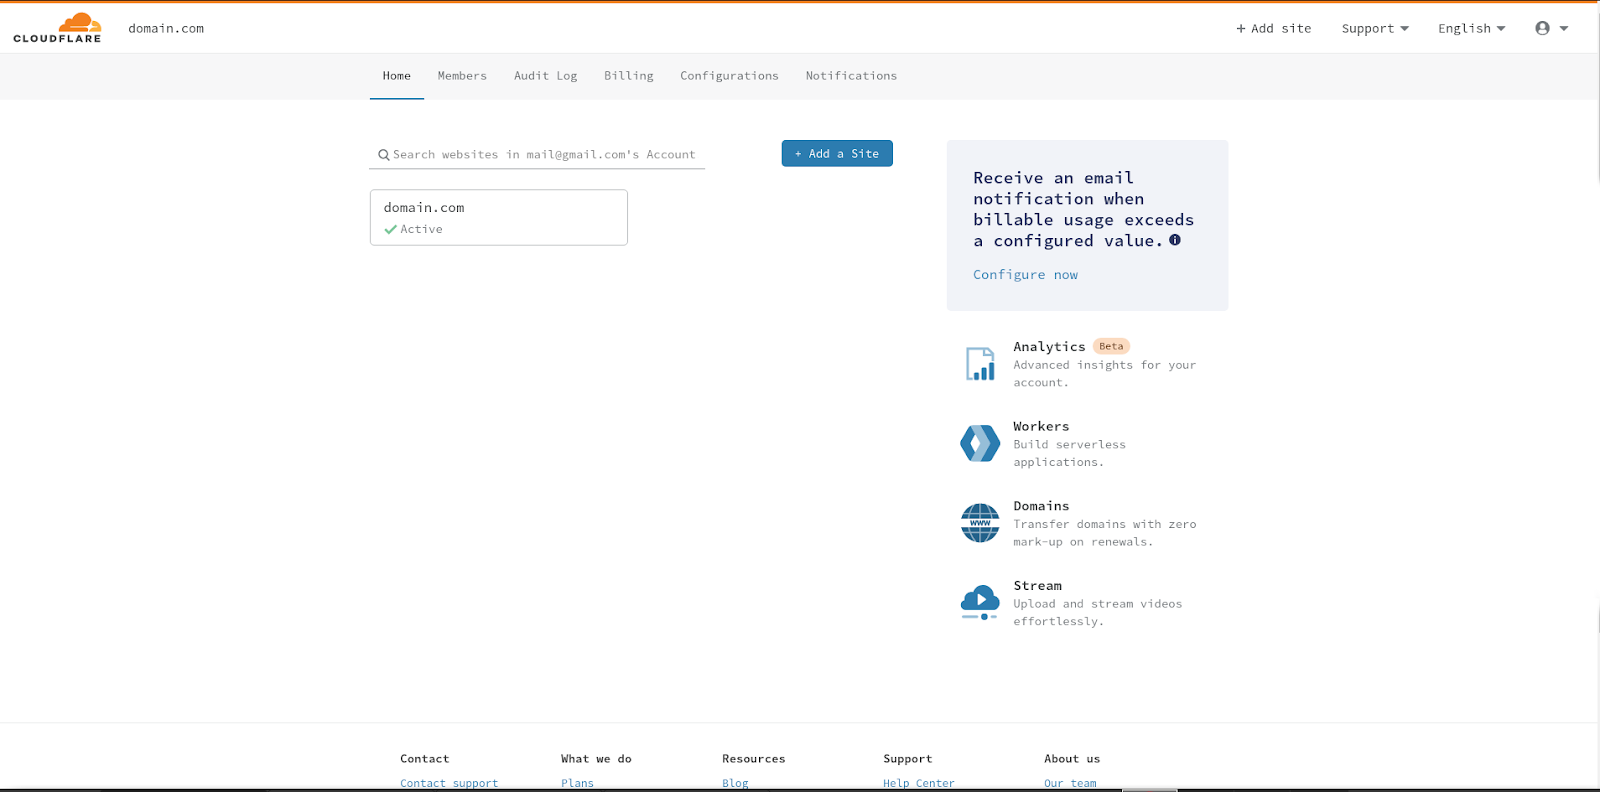
First, you need to go to dash.cloudflare.com and log in. Once logged in, click on the “Add a Site” button and input your website’s domain. Click on “New domain” to continue with the setup process.
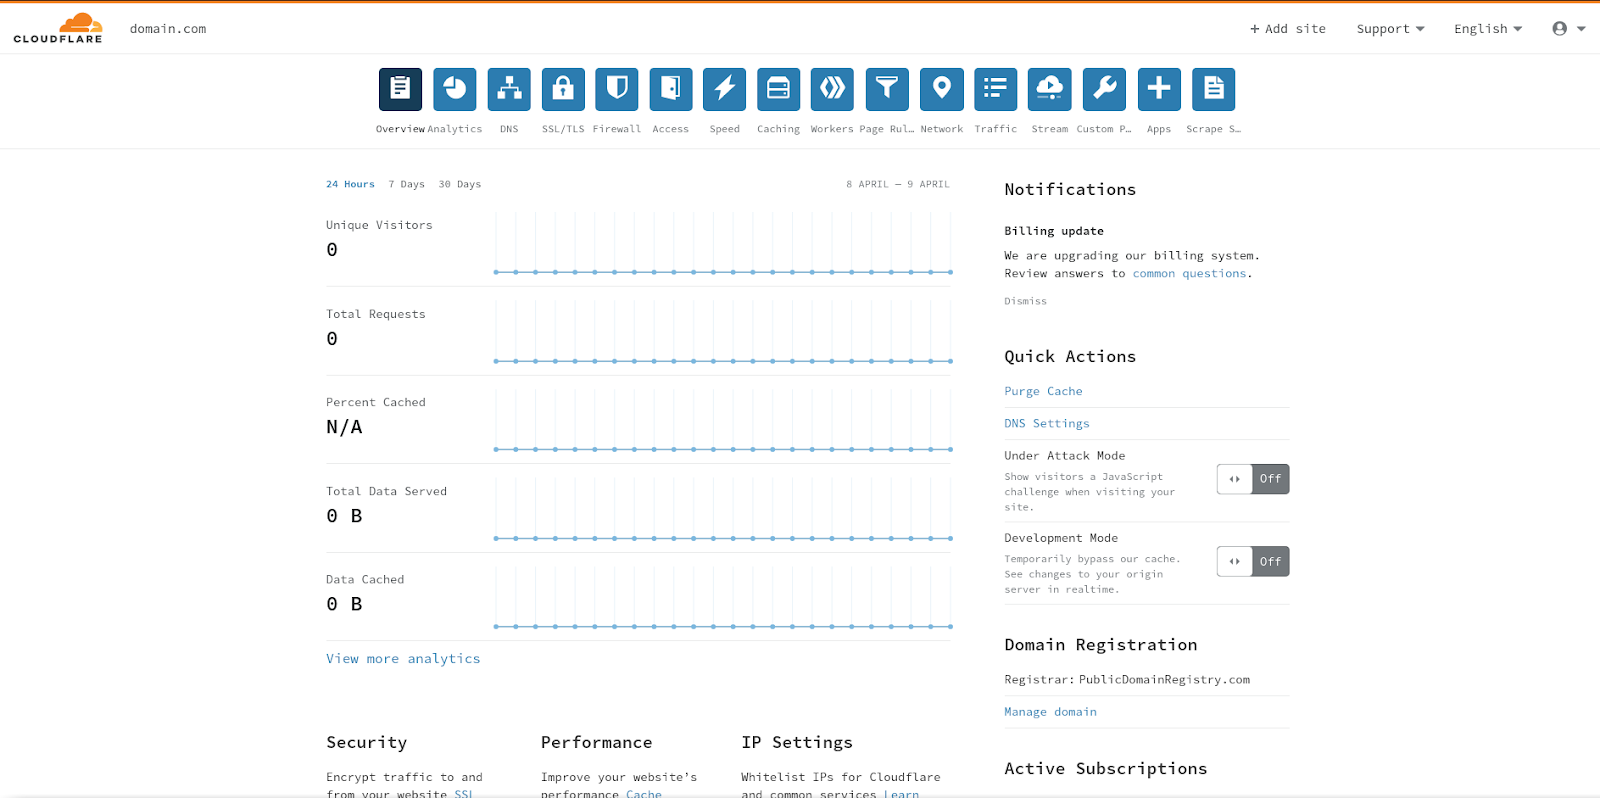
Next, you need to click on “DNS” to make changes to the DNS records. It is the third icon in the top bar, as you can see here:
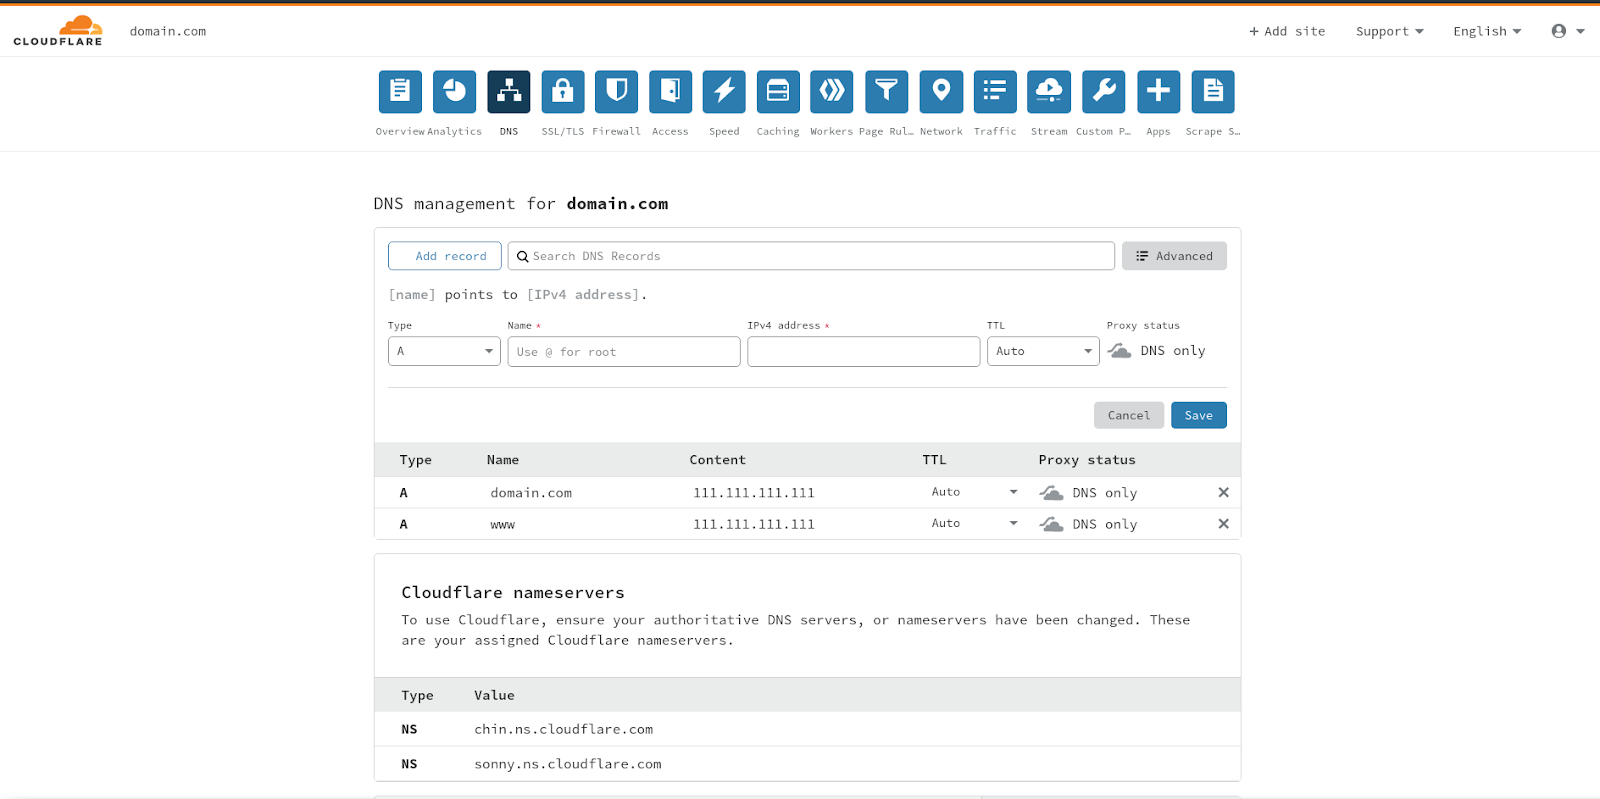
You’ll now see a form that you need to fill out.
First, you need to select a type. Pick Type A, then add your domain name under the name category, and IP address under IPv4. Leave TTL as “Auto” and change the Proxy Status to “DNS Only.”
Repeat all the steps one more time, choose Type CNAME, and change the name to “www.” Leave everything else the same.
Now that you’ve created two records, wait a couple of minutes for the data to synchronize with the backend. Then you can try pinging your domain. Open the terminal and type:
ping domain.com
The response should look like this:
PING domain.com (111.111.111.111) 56(84) bytes of data.
64 bytes from domain.com (111.111.111.111): icmp_seq=1 ttl=42 time=55 ms
64 bytes from domain.com (111.111.111.111): icmp_seq=2 ttl=42 time=54 ms
64 bytes from domain.com (111.111.111.111): icmp_seq=3 ttl=42 time=53 ms
64 bytes from domain.com (111.111.111.111): icmp_seq=4 ttl=42 time=54 ms

--- domain.com ping statistics ---
4 packets transmitted, 4 received, 0% packet loss
What this means is that your VPS has successfully transmitted and received packets over the domain. Hit Ctrl+C to stop the process.
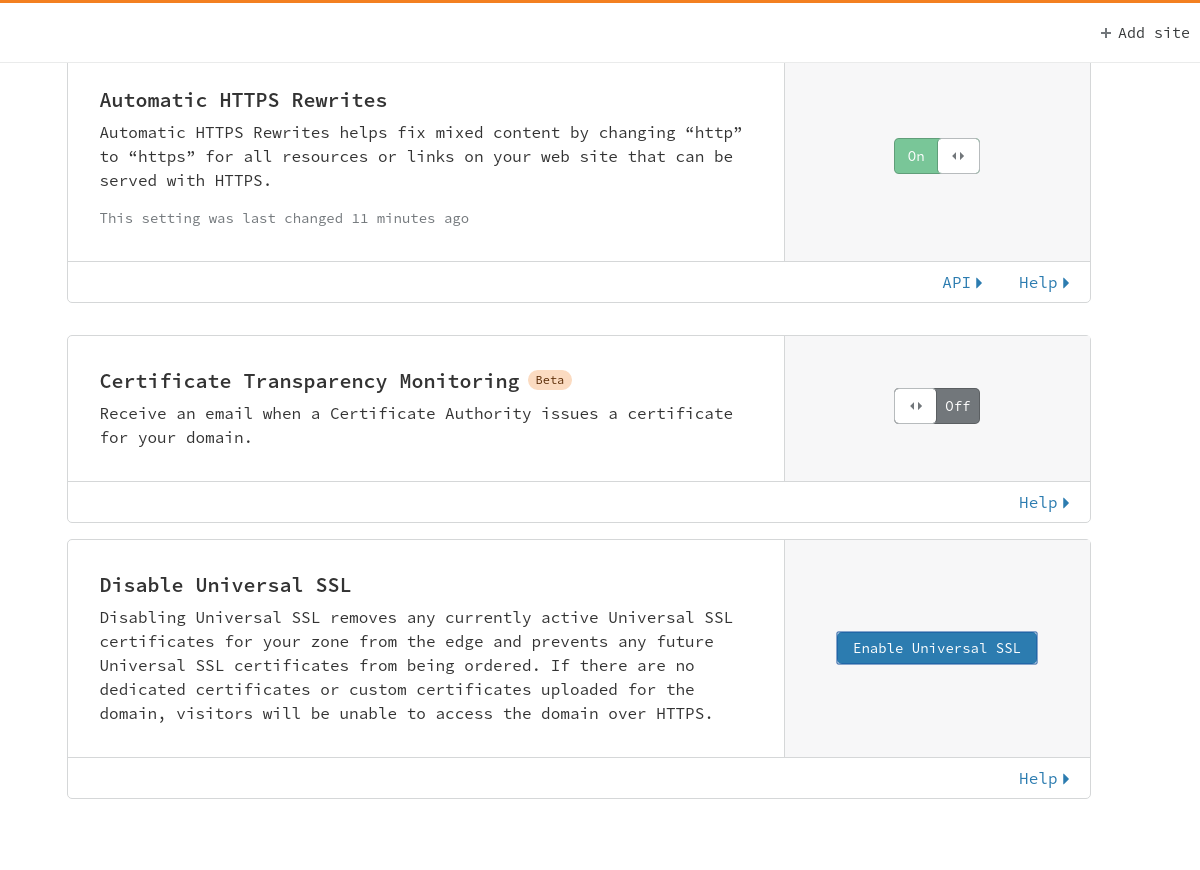
Finally, you need to disable Cloudflare Universal SSL for Let’s Encrypt validation after you’re done installing the web panel. To disable SSL/TLS, go to the “Overview” tab and turn the encryption off.
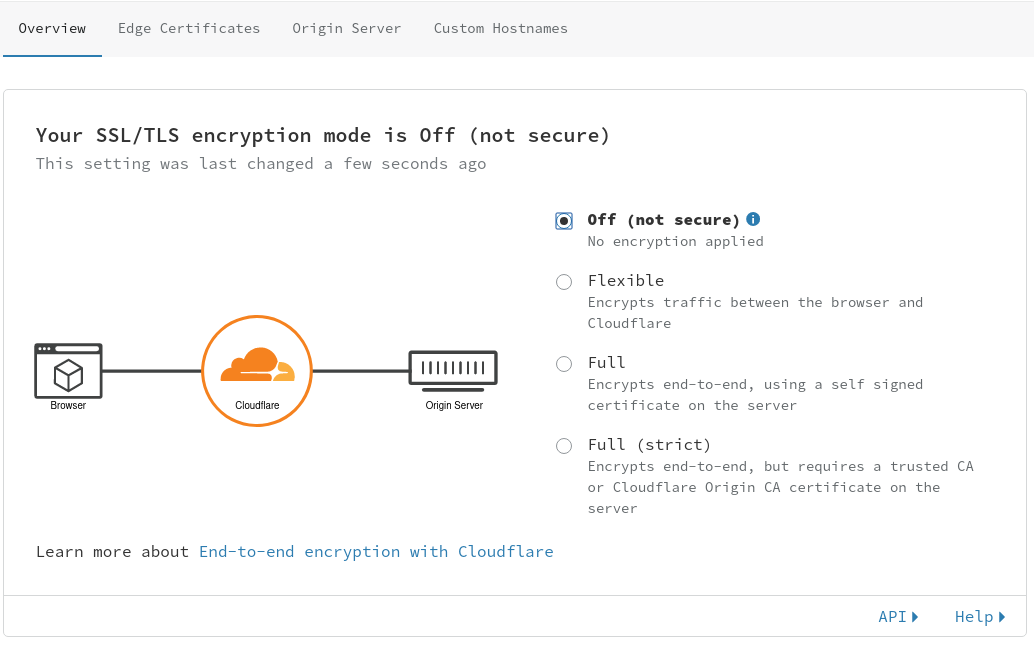
Then, go to “Edge Certificates” and disable Universal SSL.
With this, Cloudflare configuration is complete.
Install VestaCP
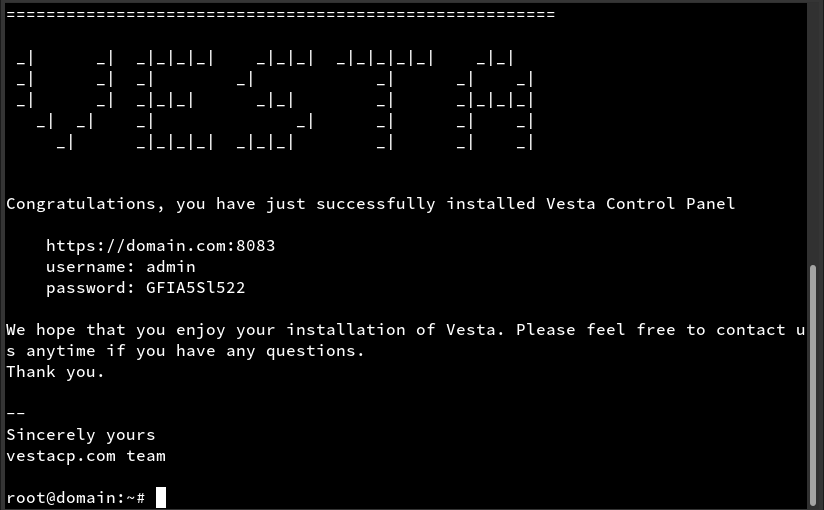
You can follow this detailed AbeloHost guide to learn how to install and use VestaCP.
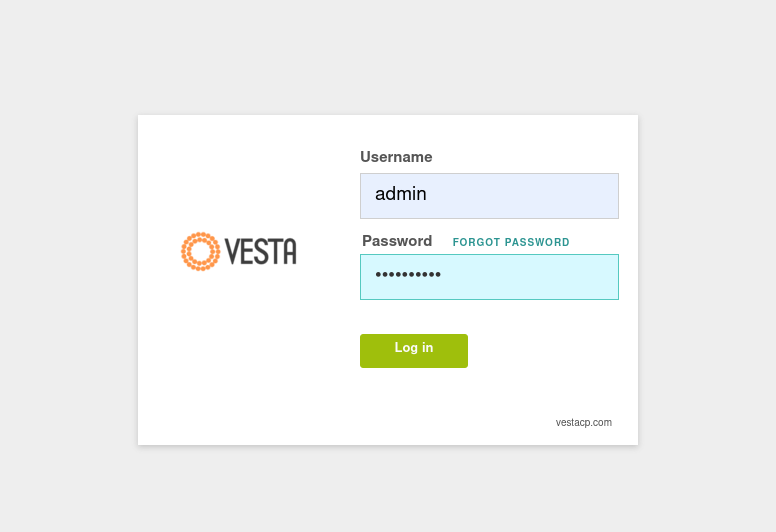
When the installation is complete, you’ll see a link, your username, and a password in the terminal. Follow the link to log in to the Vesta control panel.
Get Let’s Encrypt Validation on VestaCP
Use your credentials to log in.
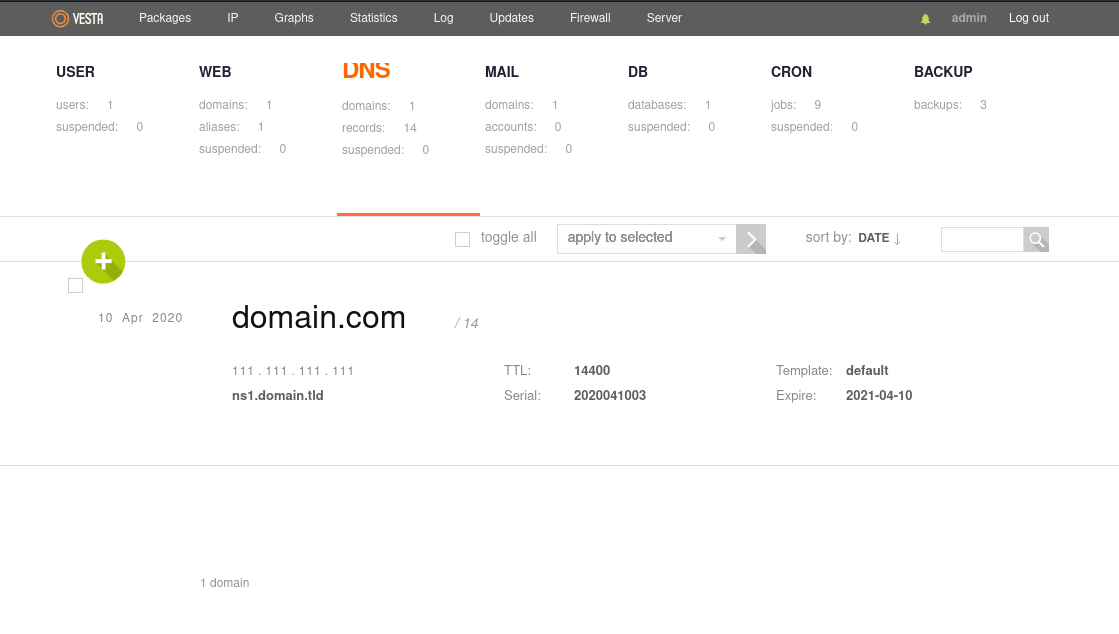
After you’re logged in, go to the “WEB” panel. You can see your domain info there.
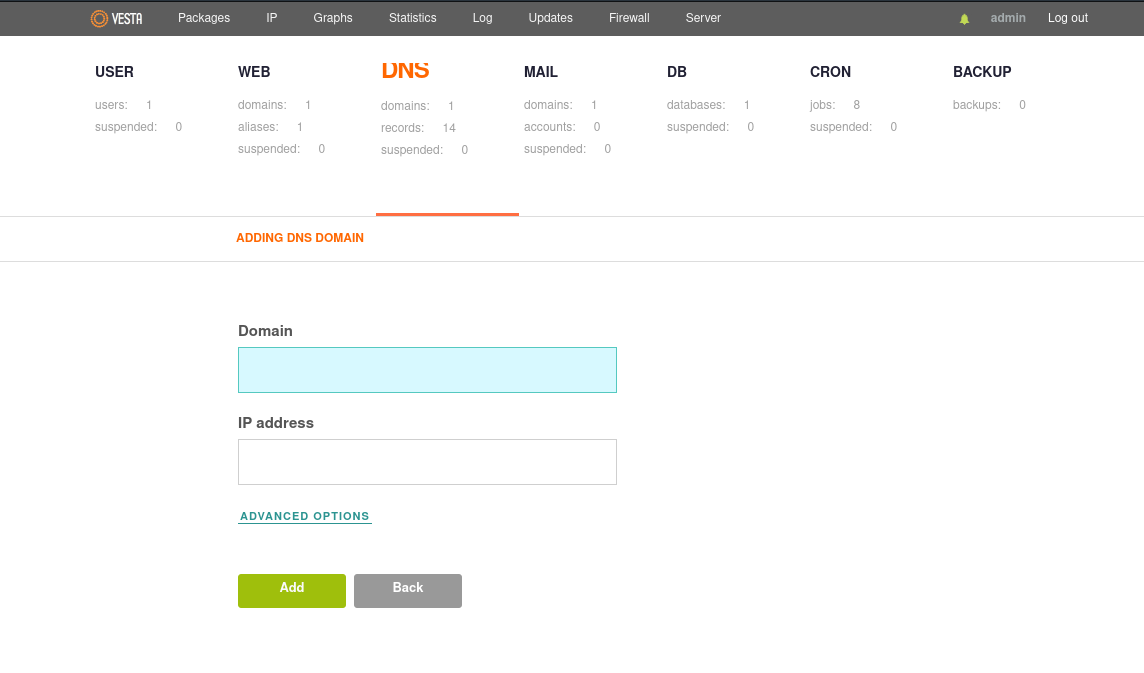
If the default information provided does not match your details for any reason, you can click on the “+” button to add a new domain. Input the correct domain name as well as the IP address and click on “Add.”
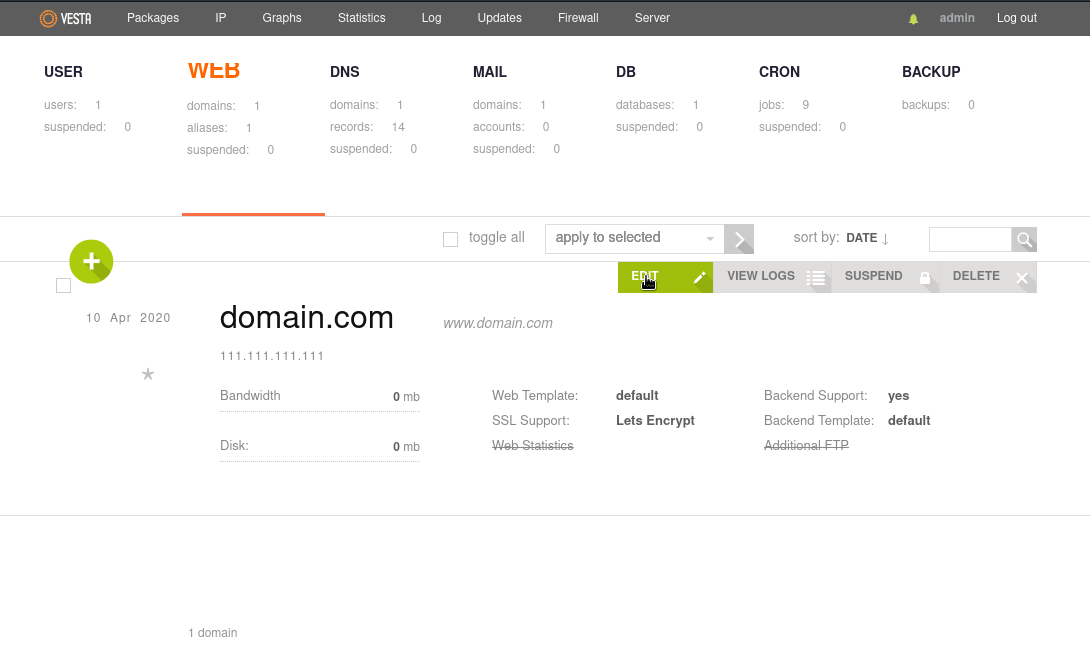
Now you’re back in the “WEB” panel. Click on the “EDIT” button next to your domain.
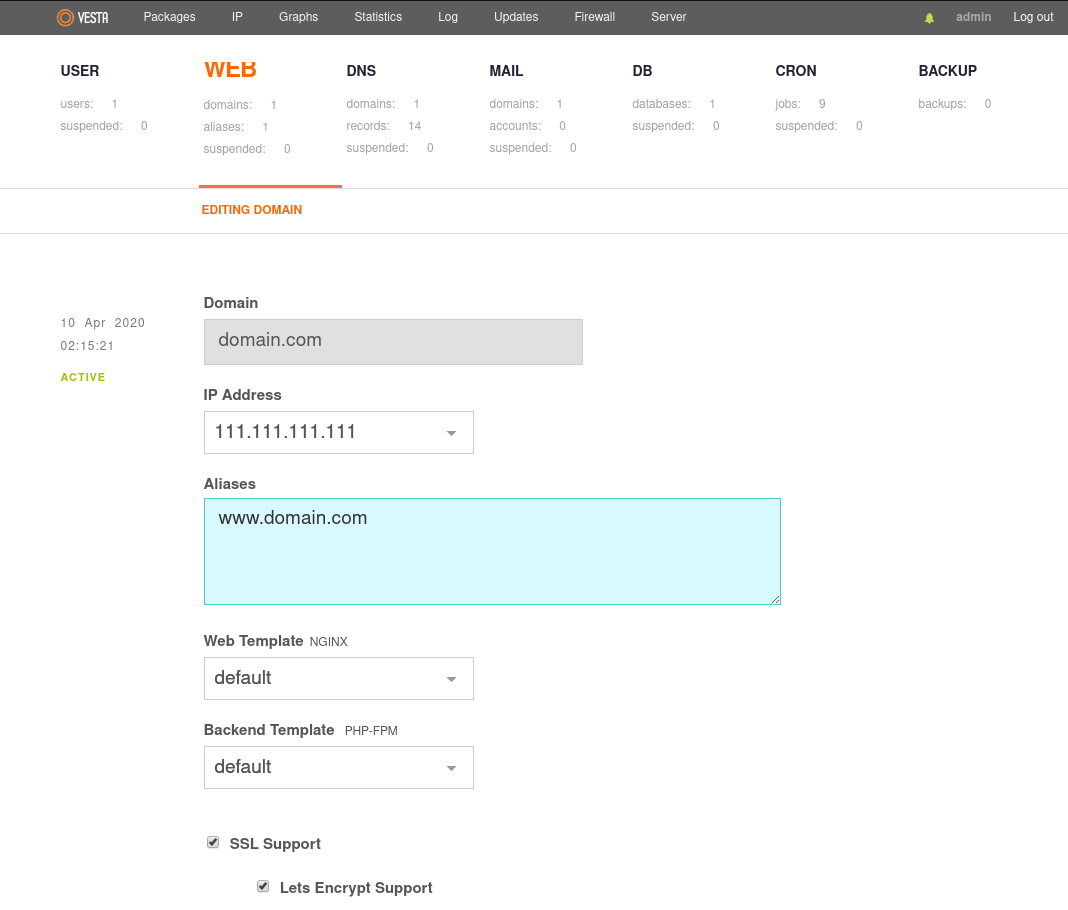
You’ll see several forms there, including Domain, IP Address, Aliases, Web Template, and Backend Template. Below these forms, you will see the SSL Support box. Check it, then check the Lets Encrypt Support box as well and hit “Save.”
If the validation process is successful, you should see something like this:

With this, your VestaCP and Let’s Encrypt validation are both complete. The VPS setup process is almost done. All that’s left is for you to download and install WordPress.
WordPress Installation
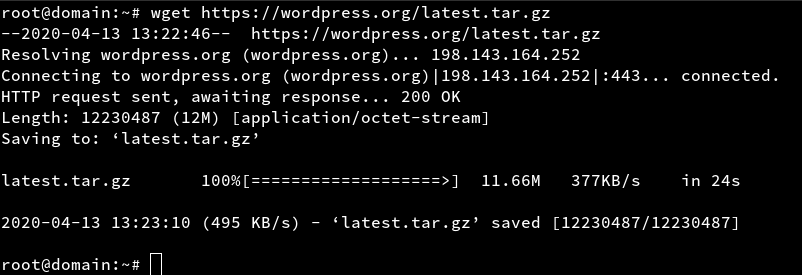
To download WordPress directly to your web server, use the following command:
wget https://wordpress.org/latest.tar.gz
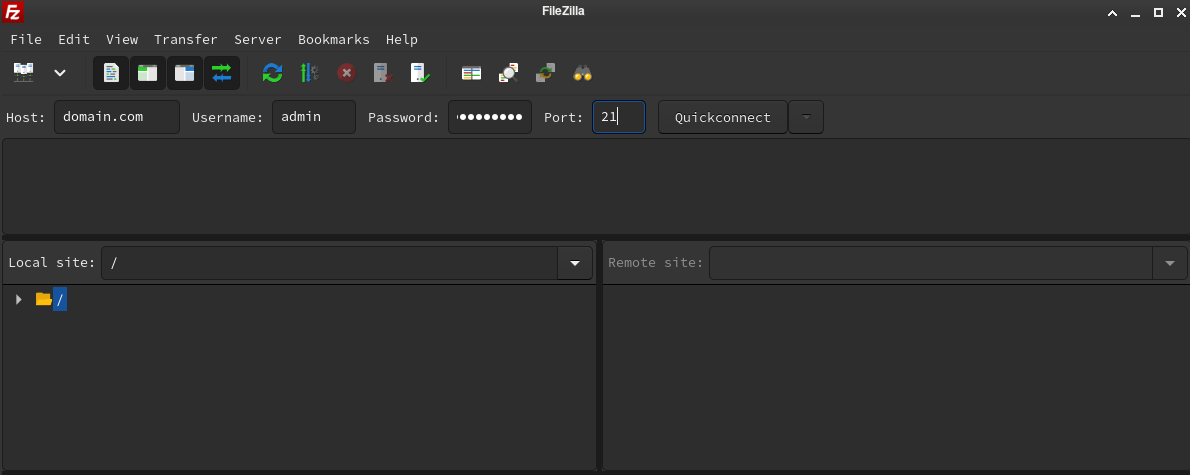
In order to upload files to your VPS, you can use either the SCP utility or an FTP client.
To use SCP utility, type:
scp ./path_to_file
[email protected]:/path_to_directory
If you are using an FTP client such as FileZilla, opt for VestaCP root instead.
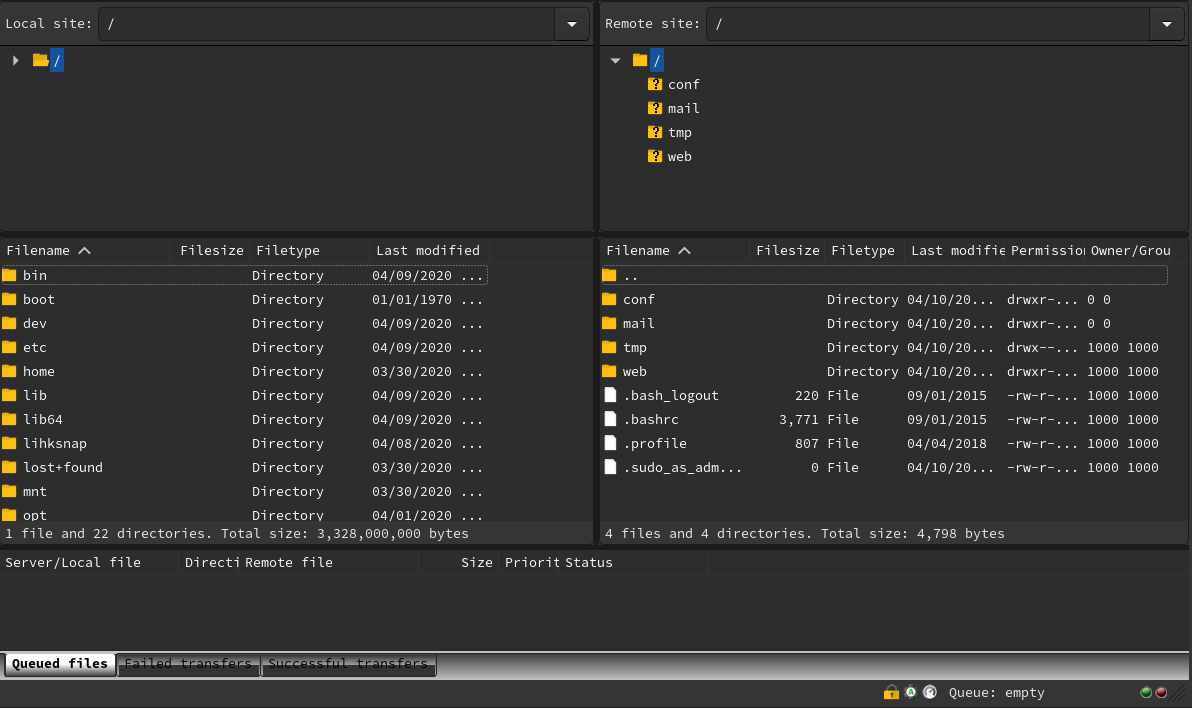
Once you’re connected to the server, you can manage files easily.
You can use the wget command to download the WordPress archive.
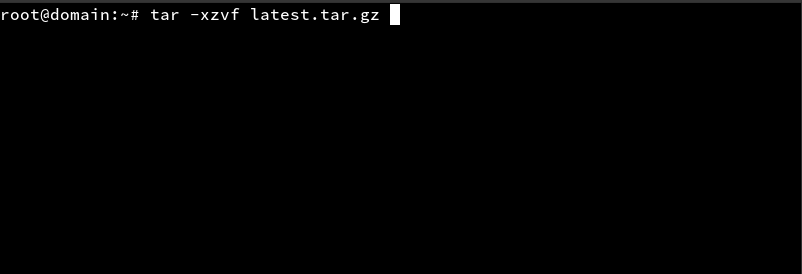
To unpack it, use the following command from the same directory where you downloaded the file:
tar -xzvf latest.tar.gz
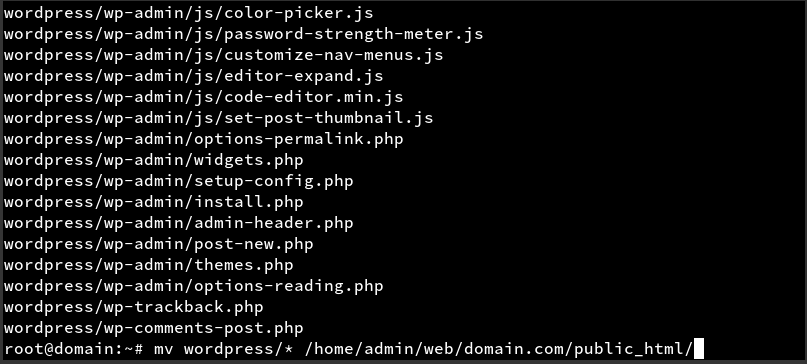
Move files to /home/admin/web/domain.com/public_html/ by using the following command:
mv wordpress/* /home/admin/web/domain.com/public_html/
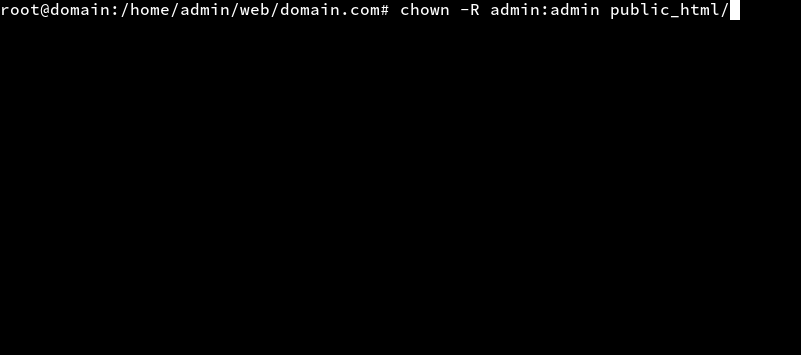
Change directory to /home/admin/web/domain.com by using the following command:
cd /home/admin/web/domain.com
Then, look at the following screenshot to learn how to change permissions for the public_html/ folder:
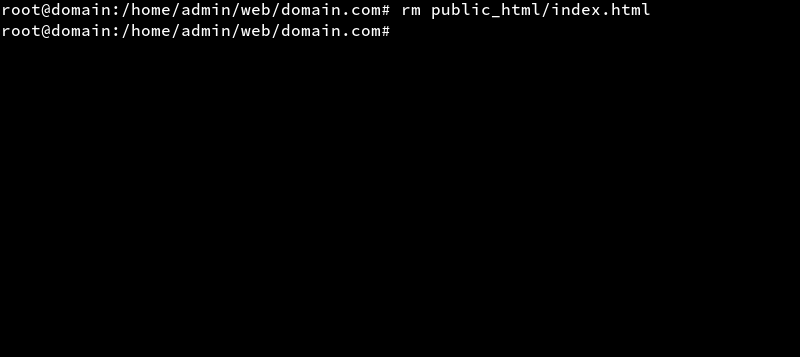
You need to remove index.html using the “rm” command:
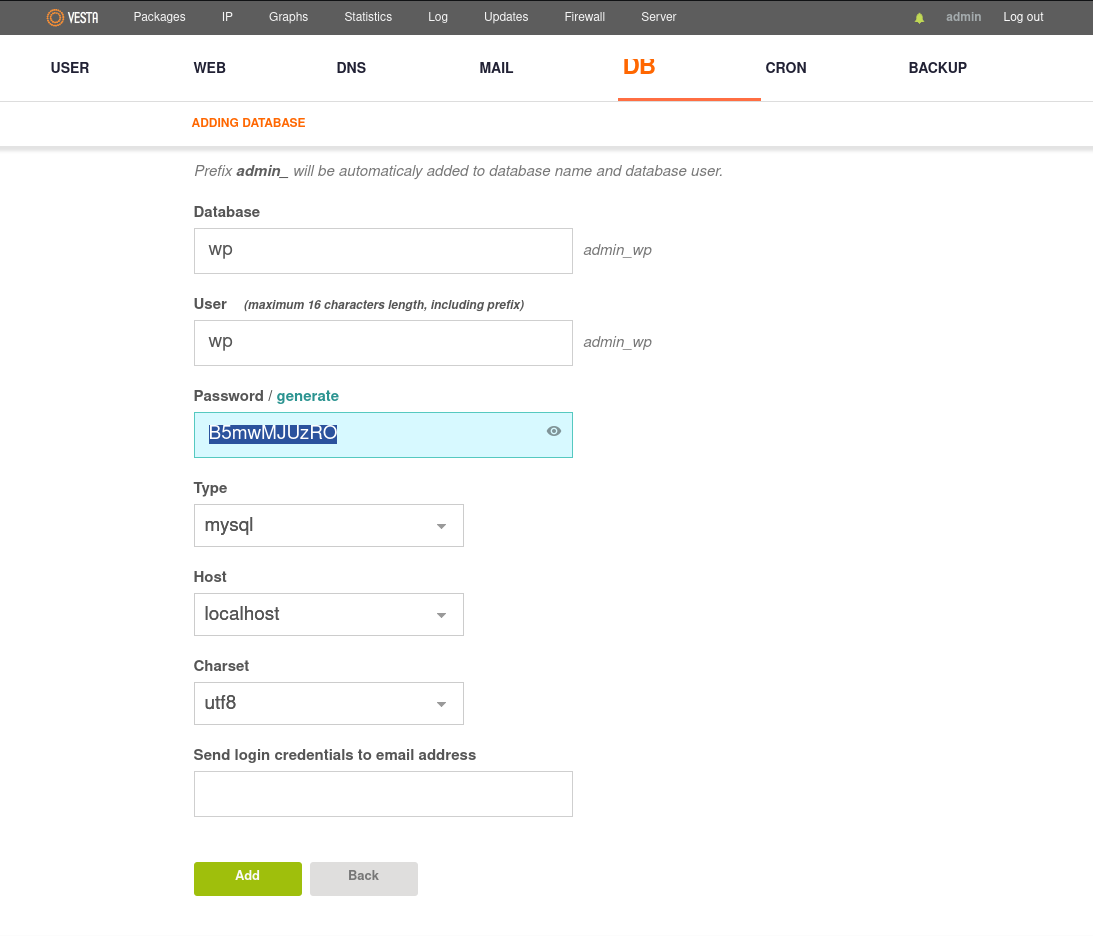
A crucial part of setting up a VPS is creating databases for WordPress. You’ll want to navigate to the “DB” section in VestaCP.
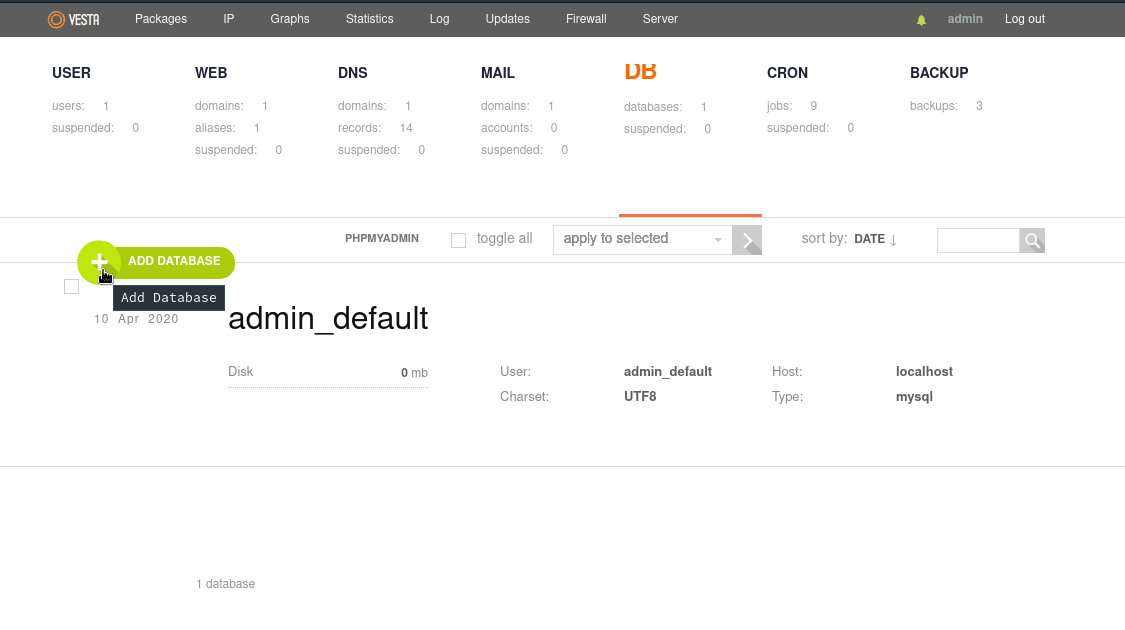
Name your database and select the type you’d like it to be.
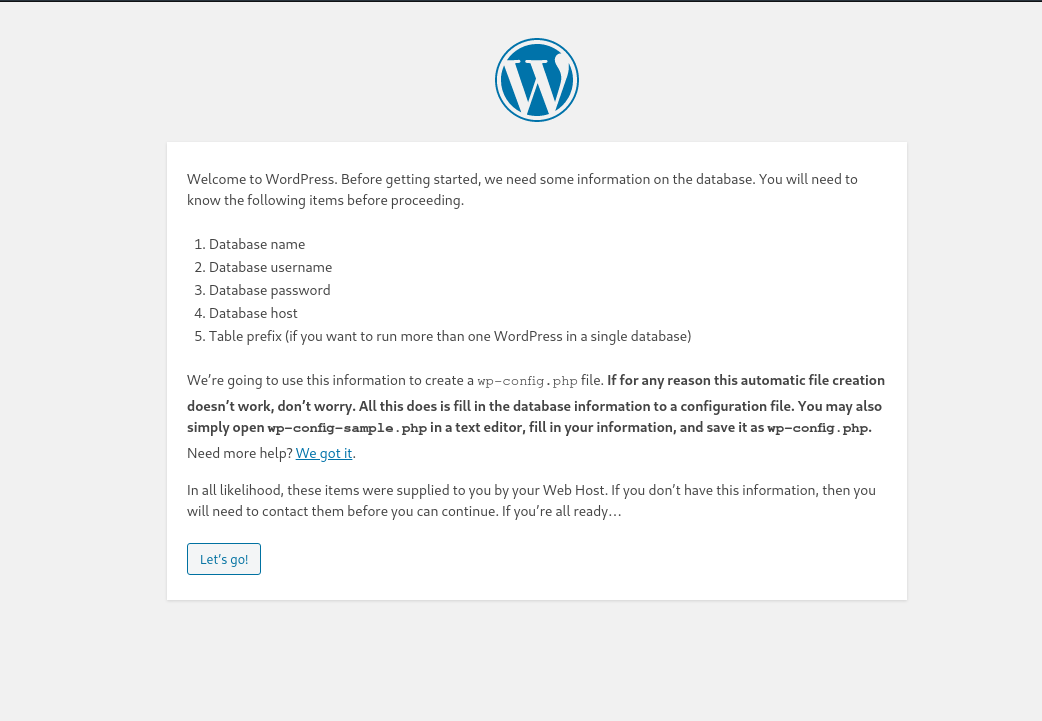
Now you need to access your domain. Go to domain.com and select a language.

In the window that pops up next, click on the “Let’s go!” button.
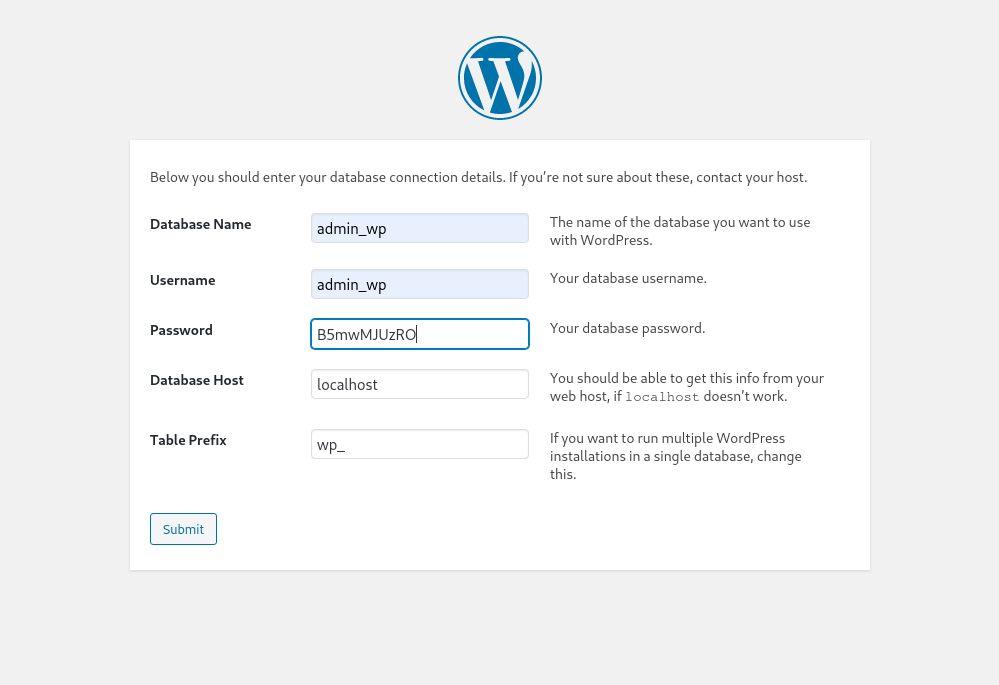
Type in the required information just like we did in the following screenshot:
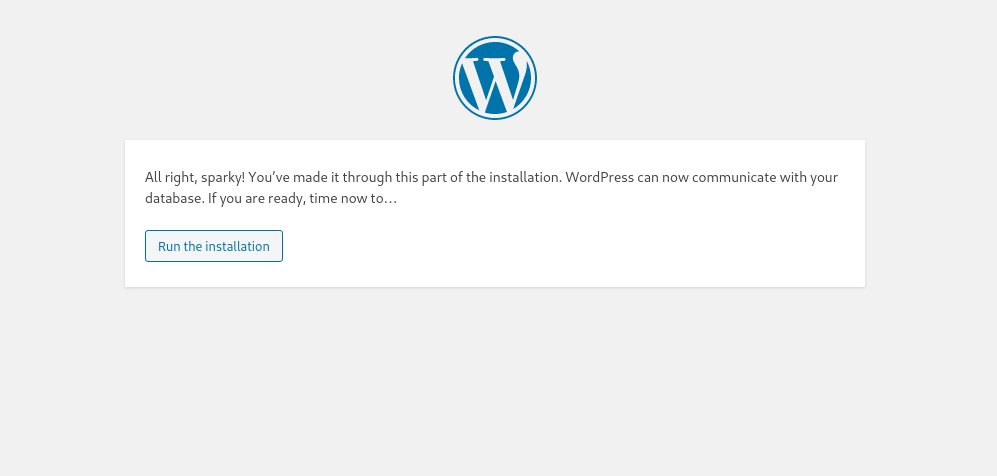
When all of that is done, you should see a window letting you know that WordPress can now communicate with your database. Now you can hit the “Run the installation” button.
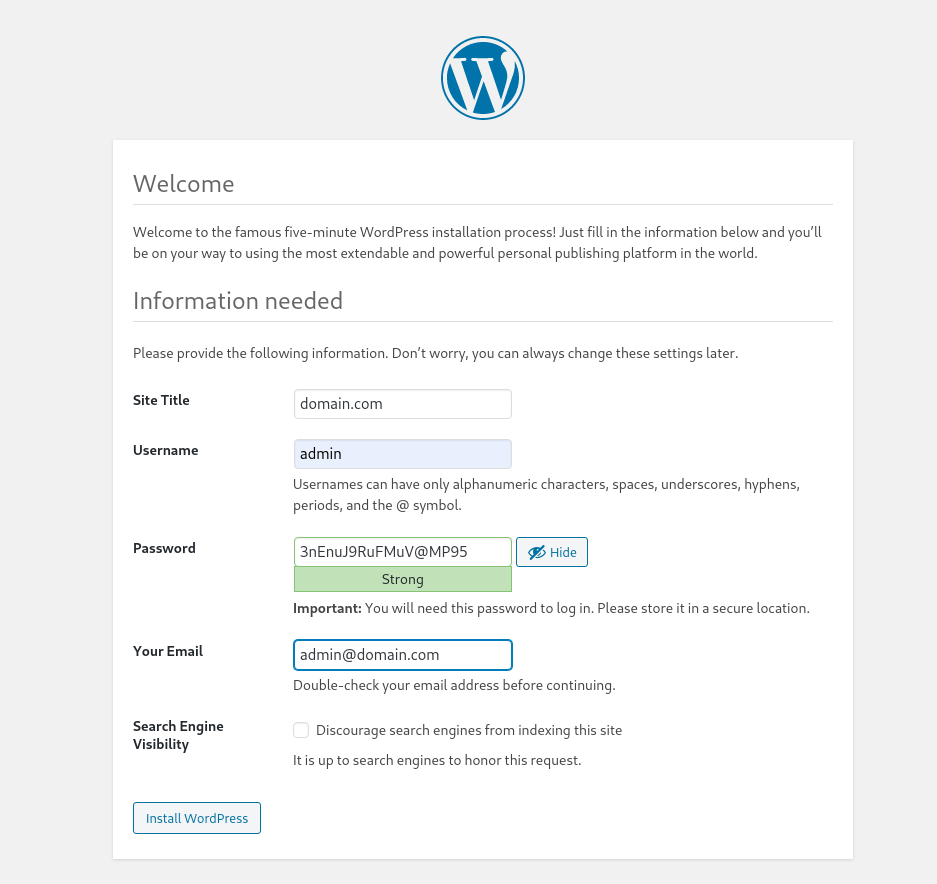
This is the last part of the VPS setup. You’ll see an installation window where you need to input your site title, username, password, and your email. Finally, you need to press the “Install WordPress” button.
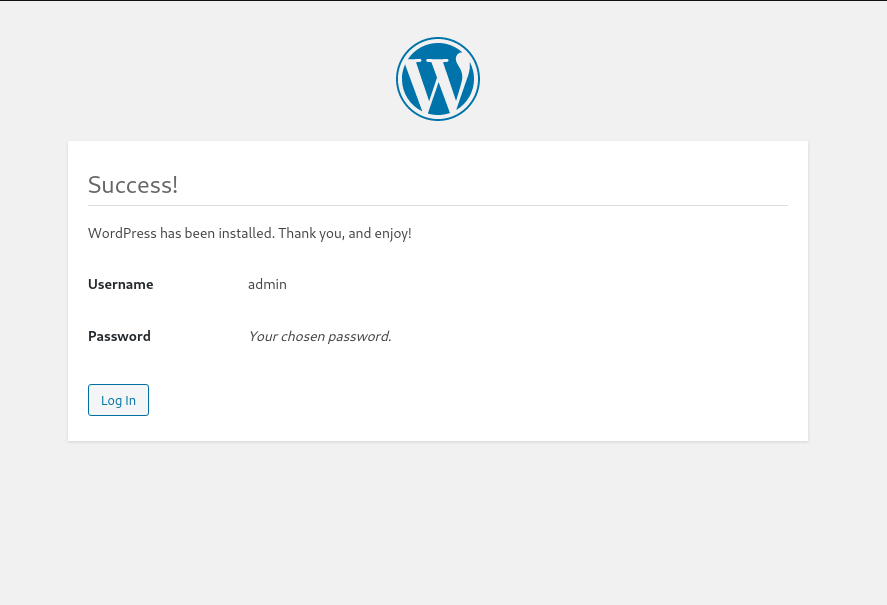
And that’s it — your WordPress has been installed successfully. You can now log in using your chosen credentials.
Final Thoughts
Following these instructions, you’ll be able to install a VPS without much hassle. Your adult site will be up and running in no time, as soon as you:
- Connect to the Vicetemple server;
- Configure Cloudflare DNS;
- Install VestaCP;
- Activate Let’s Encrypt validation;
- Install WordPress.
Don’t hesitate to contact Vicetemple if you run into any problems you can’t resolve yourself. You will get all the help you need to make sure that everything is running smoothly.
